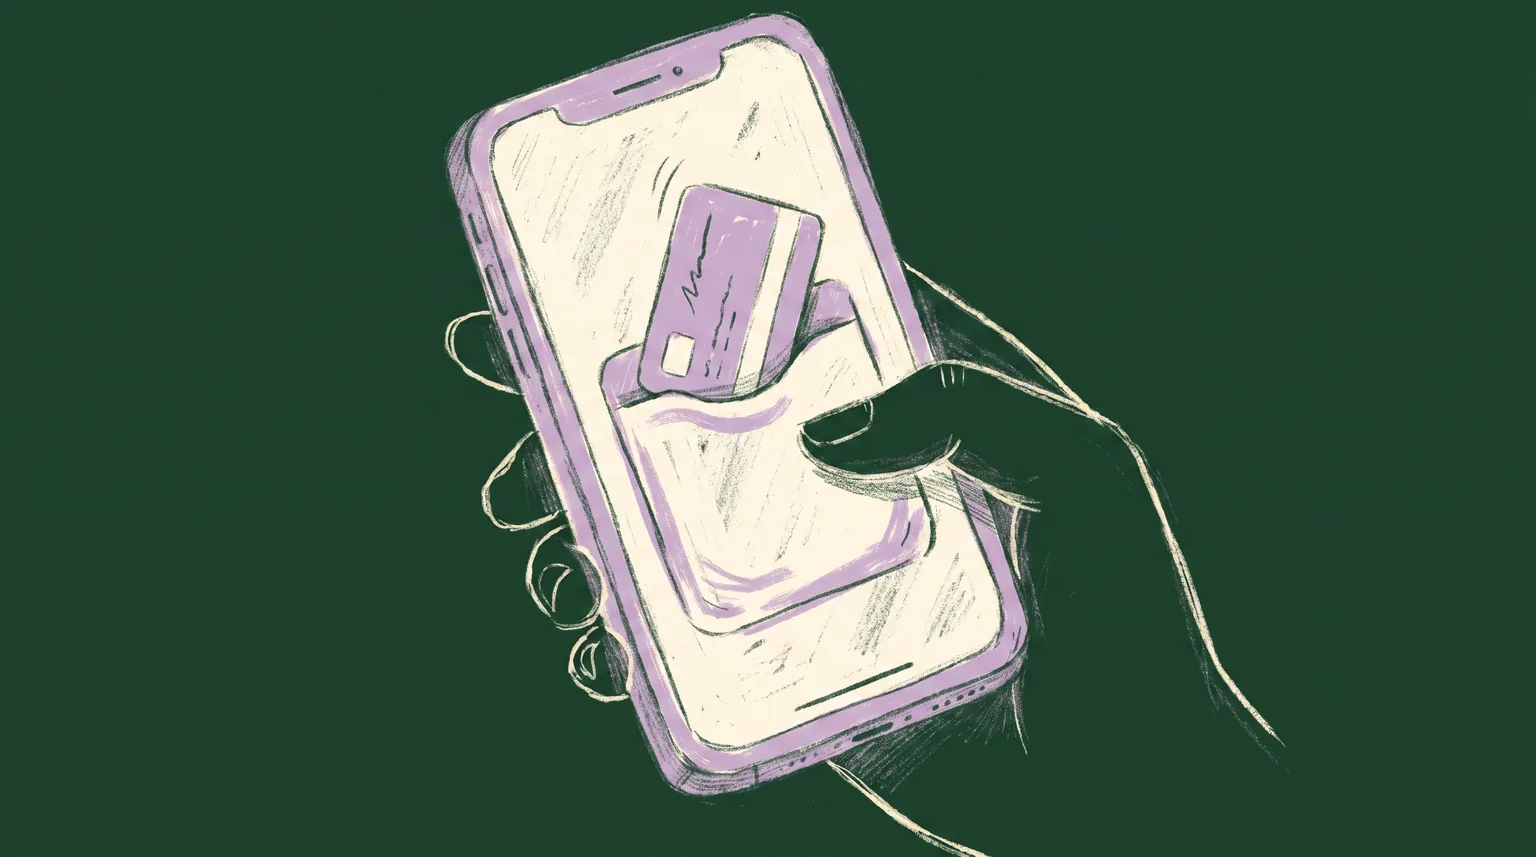
A developer we'll call Priya finishes the button on a Thursday afternoon. Her Next.js app issues gym memberships, and the last piece is an Add to Apple Wallet badge on the confirmation page. She wires it to an API route, tests it on her own iPhone over Wi-Fi, taps the badge, watches the card slide into Wallet, and ships it before the weekend.
By Tuesday, support has three tickets. One member on Android can't get the button to do anything. Another, on an iPhone but inside Chrome, gets a spinner and nothing else. A third emails a screenshot of someone else's membership card sitting in her Wallet, complete with another member's name.
None of that is a signing bug. The certificate was fine, the .pkpass was valid, and Priya's own phone proved it worked. What broke is everything around the pass: which runtime built it, what headers described it, and whether the route that generated it ran fresh for every request or served the same response to everyone who hit it. That's the part a working demo never shows you.
What the button is actually asking your server to do
The badge itself does nothing. It's a link, or a form that posts to one, and everything interesting happens on the other end of it. When someone taps Add to Apple Wallet, their browser requests a URL, and your server has to respond with a signed .pkpass archive built for that specific person: their membership number, their loyalty tier, their barcode. Not a static file sitting in public/, a response computed at request time.
That single fact decides most of the architecture. You need a route that runs server-side code on every hit, reaches whatever holds the member's data, builds a pass.json, signs it with your Pass Type ID certificate, and streams back an archive with the right MIME type. In the App Router, that's a route handler, not a page, and not a static export.
The route handler that builds and signs the pass
A minimal version looks like this, trimmed to the parts that are specific to Wallet:
// app/api/wallet-pass/[memberId]/route.ts
import { NextRequest } from 'next/server'
import { buildSignedPass } from '@/lib/wallet/pkpass'

export const runtime = 'nodejs'
export const dynamic = 'force-dynamic'

export async function GET(
  request: NextRequest,
  { params }: { params: Promise<{ memberId: string }> }
) {
  const { memberId } = await params
  const member = await getMember(memberId)

  if (!member) {
    return new Response('Not found', { status: 404 })
  }

  const pkpass = await buildSignedPass(member)

  return new Response(pkpass, {
    headers: {
      'Content-Type': 'application/vnd.apple.pkpass',
      'Content-Disposition': `attachment; filename="${member.slug}.pkpass"`,
      'Cache-Control': 'no-store',
    },
  })
}
Two lines at the top of that file matter more than the signing code underneath them, and they're the two most commonly skipped.
buildSignedPass itself is mostly bookkeeping: assemble pass.json with the member's fields and barcode, drop in the icon and logo images, hash every file into a manifest.json, sign that manifest with your Pass Type ID certificate and the Apple WWDR intermediate, and zip the result into a .pkpass. None of that is Next.js-specific, and it's the part most tutorials already cover well. What they skip is everything this route needs around it to survive a second visitor.
One of those is authorization, and it's easy to miss precisely because the route already looks locked down. A memberId in the URL isn't a secret. If your IDs are sequential integers or anything else guessable, a route that hands back a signed pass for whichever ID shows up in the path will happily hand back someone else's pass to anyone who edits the URL. Check the request against the signed-in session, or require a short-lived signed token in the query string instead of a bare ID, before you build anything. The badge on the confirmation page can carry that token in its href without the user ever seeing it.
Testing this from an actual phone, not a simulator
Wallet won't preview a pass served over plain HTTP, and localhost isn't reachable from your phone in the first place, so the fastest local loop isn't npm run dev and a QR code pointed at your laptop's IP. Run a tunnel instead:
npx untun@latest tunnel http://localhost:3000or cloudflared tunnel --url http://localhost:3000 if you'd rather not depend on a third party for something you'll only run a dozen times. Either gives you an HTTPS URL that resolves from a real device, which is the only way to see the actual Wallet preview screen, not just a downloaded file sitting inert in Files. Do this once before you touch the caching or runtime settings below. A pass that fails on your phone over a tunnel and a pass that fails only in production are two different bugs, and conflating them wastes the debugging session.
Why this route can't run on the edge
Next.js route handlers default to the Node.js runtime, but plenty of teams add export const runtime = 'edge' further up the file, in a shared config, or by copying a snippet from a different route that needed low latency more than it needed crypto. Signing a pass means hashing a manifest and producing a PKCS#7 signature with your Pass Type ID certificate and Apple's WWDR intermediate, which means the Node.js crypto module, and the edge runtime doesn't ship it. A pass route built on the edge runtime fails at build or at request time with an error naming the exact module it's missing, which is at least an honest failure. Leave runtime = 'nodejs' on the route and you never see it.
The badge you don't get to redesign
Apple publishes the Add to Apple Wallet badge as ready-made SVG and EPS artwork, in 45 locales, and its guidelines are unusually specific about what you can't do with it. You can't recolor it, resize it outside the provided formats, flip or rotate or animate it, add a drop shadow, dim it to show an unselected state, or draw your own version that merely resembles it. There's a light badge for white backgrounds and an outline version for dark ones, and that's the extent of the customization Apple allows.
It reads as excessive until you remember the badge is doing recognition work for you. A user who has added a boarding pass or a concert ticket to Wallet before already knows what this exact badge means, and a custom "Add to Wallet" button styled to match your brand's blue throws that recognition away. Use the SVG Apple ships, size it with CSS the way you'd size any image, and link it to your signed route. That's the entire integration on the frontend.
<a href={`/api/wallet-pass/${member.id}`}>
  <img
    src="/wallet-badges/add-to-apple-wallet.svg"
    alt="Add to Apple Wallet"
    width={140}
    height={44}
  />
</a>
No download attribute, no client-side fetch and blob URL. A plain link to a route that returns the right Content-Type is what lets Safari recognize the response as a pass instead of a generic file.
Placement matters almost as much as the artwork. Apple's guidance is to keep the badge near the pass preview it belongs to, not buried at the bottom of a page or floating in a sticky header unrelated to any specific card, and to give it the clear space around it the guidelines specify rather than crowding it against surrounding text or other buttons. On a confirmation page with one membership card, that's straightforward. On a page listing several passes, a common mistake is one badge at the top of the page instead of one next to each card, which leaves the user guessing which pass a single tap would even add.
What happens on the other end of the tap
Tap that badge in Safari, on iOS or on the Mac, and the application/vnd.apple.pkpass MIME type is the signal that tells the browser to hand the response to Wallet instead of downloading it like a PDF. Wallet opens a full-screen preview of the card with an Add button of its own, and only after that second tap does the pass actually land in the user's Wallet app. Get the Content-Type wrong, even something as close as application/octet-stream, and Safari falls back to treating it as an ordinary download, a .pkpass file sitting in Files with no obvious way to open it.
This is also where the platform stops being consistent. Developers have reported for years on Apple's own developer forums that Chrome and Firefox on iOS, despite running on the same WebKit engine as Safari, don't reliably hand a downloaded .pkpass off to Wallet the way Safari does. The practical fix isn't a different header. It's not promising the button will work everywhere: test it in Safari specifically, and if your analytics show meaningful traffic from Chrome or Firefox on iOS, add a line under the badge telling users to open the page in Safari.
There's a second path onto the phone worth building alongside the button rather than instead of it. Apple Mail routes a .pkpass attachment straight to Wallet on its own, so a confirmation email with the pass attached, or with a link to the same signed route, gives a user stuck in a browser that won't cooperate a second way in. It costs one more Content-Type header on an email you're probably already sending.
Android has no equivalent flow at all, since it's a Google Wallet pass on an entirely separate JWT-based API with its own button asset. If your product runs both wallets, that's a second integration next to this one, not an extension of it.
The caching bug that ships the wrong pass
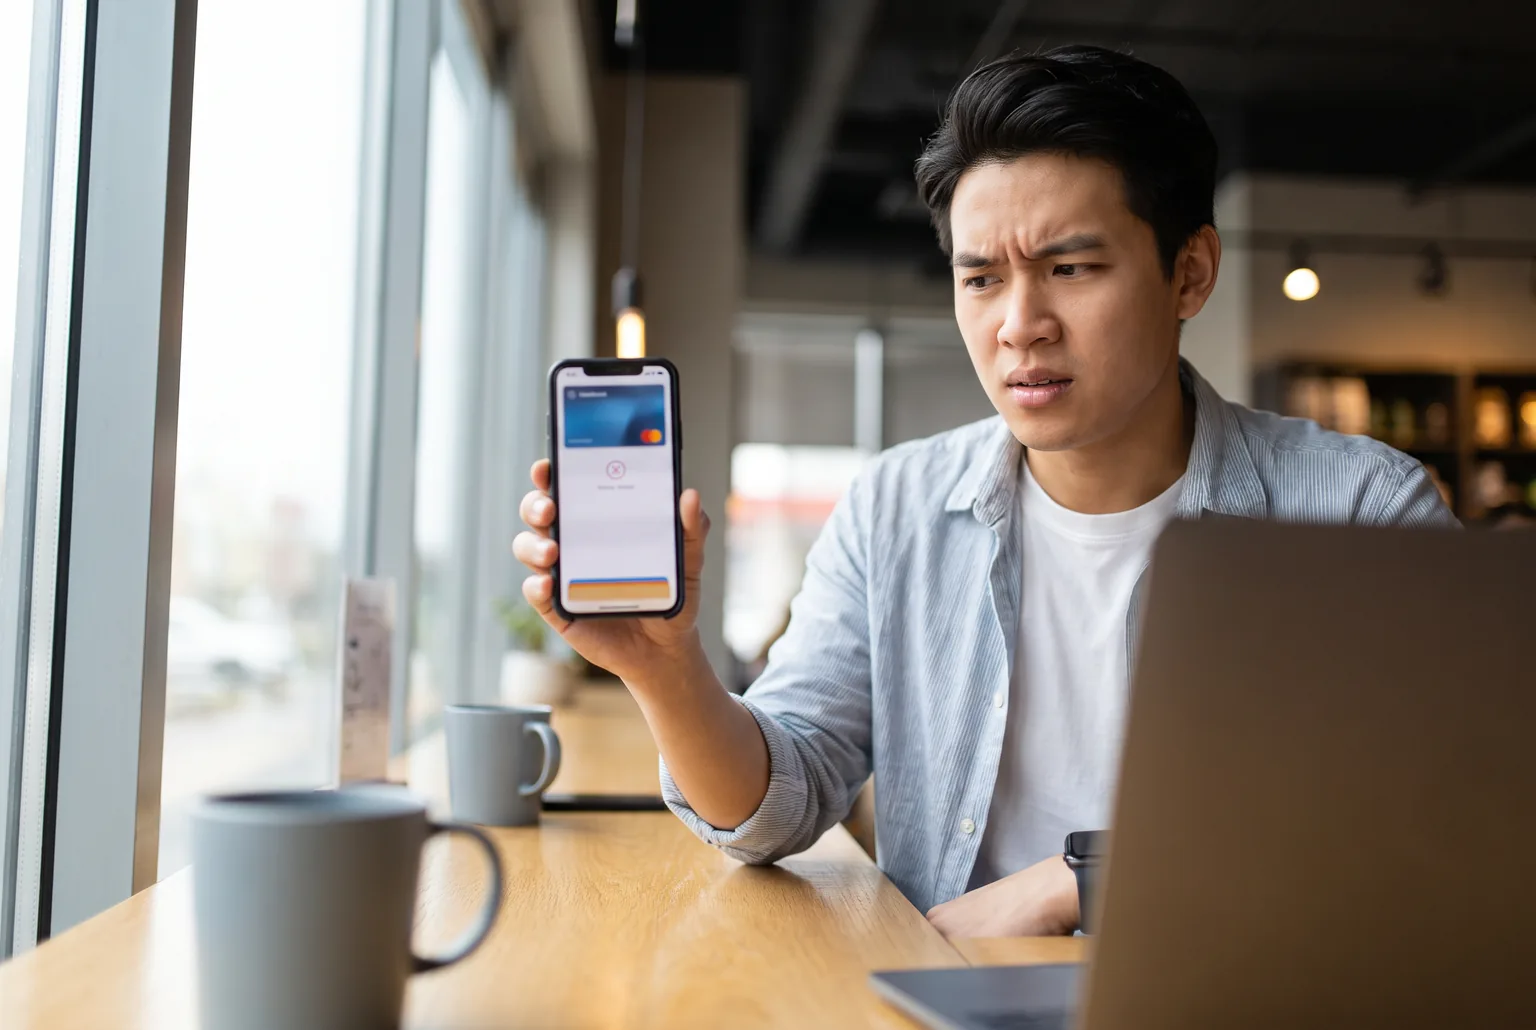
Consider an anonymized example, a pattern that comes up often enough to be worth walking through in full. A mid-size ticketing platform built its /api/wallet-pass/[ticketId] route early in the Next.js 14 era, deployed it behind a CDN, and never set an explicit caching directive on it. Route handlers using the GET method were cacheable by default, and a route that only reads a dynamic path parameter can look uncacheable from inside the file while behaving like any other cacheable response at the edge.
For the first few hundred visitors, everything worked. Then a link to one popular event's ticket page got shared in a group chat, several people opened it within the same minute, and the CDN served the first response it had already cached to everyone after. Every one of them got the first visitor's .pkpass, complete with that visitor's name and barcode. Support saw it as a wave of "wrong ticket" reports within the hour.
The header that gave it away was one nobody had thought to check: x-vercel-cache: HIT on a route the team was certain was dynamic, sitting right next to the Content-Type that looked correct in every other respect. It's worth checking that header on any pass route before it ships, with a plain curl -I against the deployed URL, rather than assuming a route reading a path parameter is automatically request-scoped. The fix itself was one line, export const dynamic = 'force-dynamic', on a route that had never needed anything more.
Next.js 15 flipped the default so GET route handlers are no longer cached automatically, which quietly fixes this for anyone on the current version. It's still worth setting dynamic = 'force-dynamic' and Cache-Control: no-store explicitly on any route that generates a pass, rather than trusting the framework's default at whatever version you're on today to still be the default after your next upgrade.
What still breaks after the button works
A working badge, a Node.js route, and a route that never gets cached will get a pass into a user's Wallet reliably. It won't keep that pass current. The gate number that changes twenty minutes before doors open, the membership tier that upgrades mid-cycle, and the certificate that expires on a Tuesday nobody was watching are all separate problems from the ones this button solves, each with its own failure mode once the pass is already sitting in someone's pocket.
None of that is a reason to avoid building the button yourself. A route handler on the Node.js runtime, marked dynamic, returning the right headers behind Apple's own badge, is a real integration a small team can own end to end. It's only the update service on the other side of it, the part that reaches back into a pass already sitting in someone's Wallet, that turns into its own project.
That's the part worth not building from scratch. Passmint's quickstart handles the signing, the caching-safe route, the badge-correct button, and the update service that keeps a pass current after it's installed, so the code above is the whole integration instead of the first third of it.
Primary sources
Common questions
Technical content writer, Passmint
Julio is a technical content writer at Passmint. He writes about Apple PassKit, the Google Wallet API, and what breaks when wallet passes meet production traffic.
More from Julio Song →